Culinary Diaries: A Love Letter to Rolls
These Thanksgiving rolls are guaranteed to be fluffy, delicious, and smile-inducing.
With Thanksgiving just around the corner, I’d be remiss to not discuss rolls. When I enrolled in culinary school this past fall, I knew it was an amazing opportunity to understand the science behind bread, how bread is made possible through various leavening methods, and how to shape bread such as challah and rolls. But what in the back of mind, I was really excited for an opportunity to R&D my Thanksgiving Parker House rolls.
Growing up, my mom was a loyal subscriber to Bon Appetit magazine. The shiny magazines were always covered with beautiful shots of food and filled with both witty and informative articles. Reading my mom’s copies religiously is what initially sparked my love for both cooking and food media.
In November 2012, BA re-released the Parker House Rolls recipe originally published in the Fannie Farmer Cookbook. I clipped the recipe, added it to my mom’s bursting-at-the-seams recipe folder, and noted it down for a later day. A few years later, I decided to tackle the rolls while home from college. They were an instant hit at the Thanksgiving table and I knew these had to enter the rotation year-over-year. However, during Thanksgiving of 2022, the rolls didn’t rise while baking. They had all the flavor of a well-fermented bread, but the texture was stiff and dense - the exact opposite of an idealistic fluffy dinner roll. I could not understand how rolls that took at least 2 days to come together would just not rise. It could be a combination of old yeast, the temperature of the fridge the dough is bulk-fermented in (overnight rise), or perhaps just an inexplicable mishap. In a not-at-all dramatic way, it was heartbreaking.
Cut to this November, I approached my Executive Pastry Chef at school and explained to her my dilemma of needing a method that would create foolproof rolls. Rolls that are guaranteed to be light, fluffy and delicious. She mentioned she had been playing around with implementing Korean milk bread methods into dinner rolls. This method utilizes a roux of flour, water, and milk to enhance the dough’s texture and flavor. After making it at school - and watching my classmates whip up several variation of rolls using this method last week - I knew I had my new recipe.
Recipe is below. Happy Thanksgiving!
Xo,
Lindsey
Thanksgiving Rolls with Whipped Honey Butter:
Yield: 16 rolls
Ingredients:
For the roux:
43g water
43g milk
14g bread flour
For the dough:
300g bread flour
50g sugar (or honey)
1 teaspoon salt
1 tablespoon instant yeast (dry active works too, may just take a little longer to rise)
113g milk
1 egg
57g melted butter
You will also need olive oil and an additional 2-3 tablespoons of melted butter
For the honey butter:
1 stick of unsalted butter
2 teaspoon of honey
1/2 teaspoon of salt (omit if using salted butter)
Flaky salt (e.g., maldon)
Method:
First, make your roux. In a small saucepan over med-low heat, combine the flour, water and butter. Stir constantly until it looks like a paste (will have a gluey consistency). Set aside.
Then, mix all of the dry ingredients in the bowl of a stand mixer fitted with the dough hook attachment. Add the milk, egg, and melted butter. Mix on medium speed (~4-6 on a KitchenAid) for about 5 minutes. You will know it has mixed enough when the dough is wrapped around the hooked, the bowl will be clean, and the dough will appear shiny.
Place dough in a bowl (oil it with a tablespoon of olive oil) and cover loosely with plastic wrap until doubled in size. This will be about 2 hours at room temp or overnight in the fridge.
Once dough is doubled, separate the dough into 16 even sections - using a scale is very helpful! (Take the total weight / 16)
Roll each dough ball.* (See video below)
To roll, push a portioned piece of dough into a little puck. Then grab each side and pinch up, similar to form a little dumpling.
Once all the edges are pinched together, flip the dough ball over so so the pinched seam is face down on a board or counter top.
Using your hand, go in a circular motion with a light amount of pressure. This will create tension with both the bottom of the roll and the board to seal the seem as well as smooth out the top.
Continue movement until the top of the roll is smooth consistency.
Place each roll in a glass baking dish oiled with olive oil and allow the rolls to rest and rise for at least 2 hours or throw them in the fridge overnight. (Overnight is my preferred method as it allows the rolls to continue developing flavor and anything made ahead makes the day of easier.)
Once ready to bake, preheat the oven to 375. Brush the rolls with 2-3 tablespoons of melted butter.
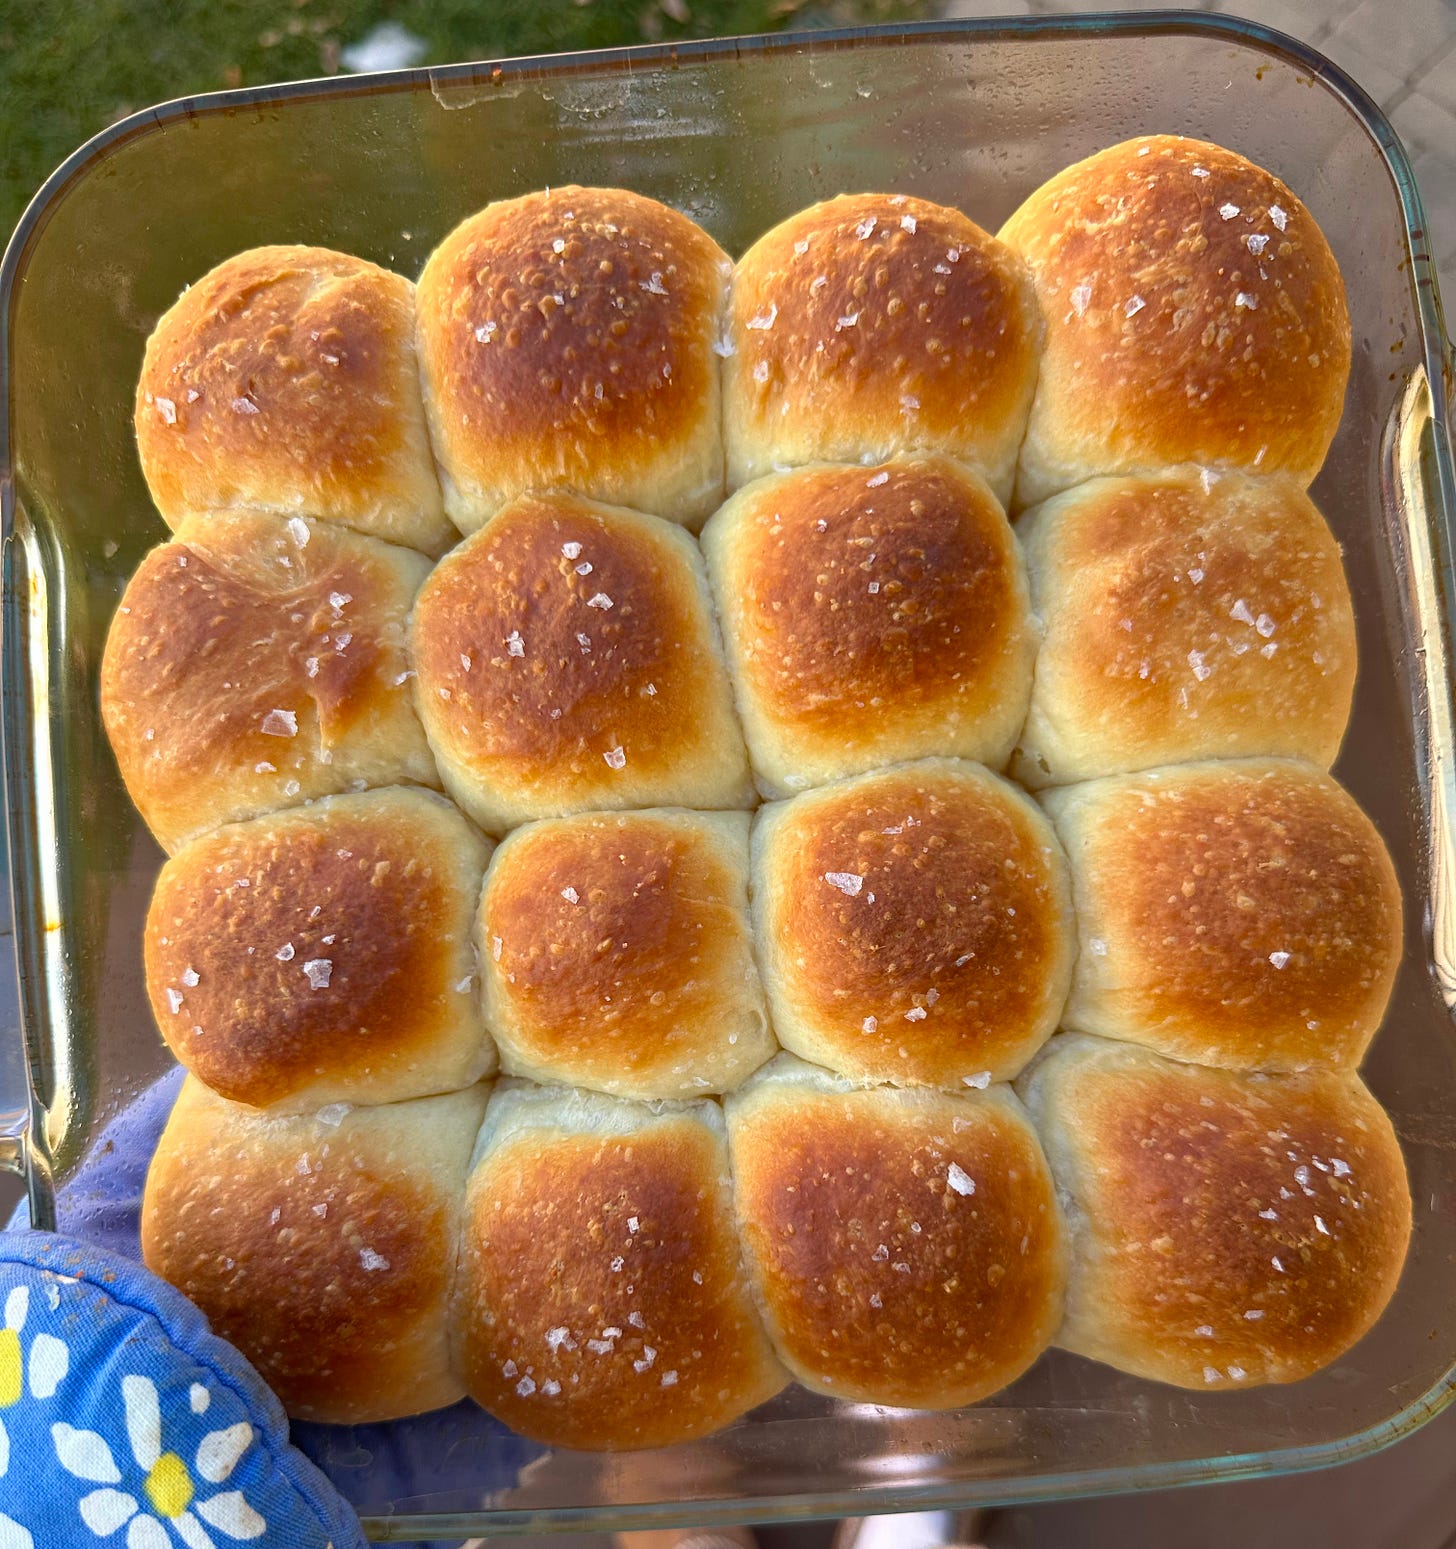
Bake for ~20 minutes, or until golden brown (check at 15 minutes in case your oven is hot).
Remove from the oven and sprinkle with flaky salt.
Serve warm with a side of whipped honey butter*.
To make Honey Butter:
Whip 1 stick of room temperature unsalted, 1 tablespoon of honey, and 1/2 teaspoon of salt with an electric whisk (or by hand) until desired consistency. Spread into a small bowl and cover with a pinch flaky salt.
Serve at room temp with the warm rolls.
*Video for shaping for my visual friends!


